
If you're locked out and don't know the passcode, there are four realistic ways back in, and which one applies depends entirely on what was already switched on for that iPad before it locked you out:
- Erase it from the lock screen itself works on iPadOS 15.2 or later, provided Find My was already turned on and you know the Apple ID password.
- Erase it remotely through Find My on iCloud.com or another Apple device.
- Put it into recovery mode with a Mac or PC and restore it.
- Fall back to DFU mode if recovery mode won't cooperate.
None of these actually "reset the passcode" in isolation - they all wipe the iPad back to factory settings and take the passcode with everything else. There's no legitimate way to keep your photos, apps and files while removing a passcode you don't know. If there's no recent backup, that's the trade-off, and it's better to know that before you start than to discover it halfway through a 20-minute restore.
The detail that trips people up more than the reset itself is what happens afterwards: Activation Lock. If Find My was switched on before you erase the iPad, it will ask for the Apple ID and password that were last signed in before it lets anyone, including you, set it up again. That's covered properly further down, because it's usually what decides whether these steps end with a working iPad or an expensive slab of glass.
Quick Answer: Which Method Fits Your Situation
- It's your iPad, you know the Apple ID password, and it's on Wi-Fi or cellular → Method 1 (on-device erase)
- It's your iPad, but you're not with it, or a family member has it → Method 2 (Find My remote erase)
- You don't remember any of the passwords, or Find My was never turned on → Method 3 (recovery mode with a computer)
- Recovery mode won't detect the iPad, or it's stuck in a boot loop → Method 4 (DFU mode)
- It's a secondhand or inherited iPad still locked to someone else's account → skip to If It's Not Your iPad; the methods above won't get you past that
Before You Start: Three Different Locks Get Confused Constantly
People searching for this usually mean one of three different things, and mixing them up wastes a lot of time:
- Device passcode - the 4- or 6-digit code (or Face ID/Touch ID) that unlocks the screen. This is what most of this guide deals with.
- Apple ID password - the account password tied to iCloud, the App Store and Find My. You'll need this one to get past Activation Lock, regardless of which reset method you use.
- Screen Time passcode - a separate 4-digit code set up under Settings > Screen Time, used to lock down content restrictions and app limits. If your iPad still opens normally but a specific setting is greyed out or asking for a code, this is almost certainly what's blocking you, not the device passcode - and it has its own, much simpler reset path through your Apple ID that doesn't involve erasing anything.
If the iPad shows a full lock screen asking for a passcode before you can do anything at all, you're dealing with the device passcode, and the methods below apply.
Method 1: Erase From the Lock Screen (No Computer Needed)
Apple added this directly to iPadOS in version 15.2, and on iPadOS 17 and later it's genuinely the fastest option because it needs nothing but the iPad itself and a network connection.
1. On the Lock Screen, enter the wrong passcode repeatedly until you reach a "[iPad] Unavailable" or "Security Lockout" screen.
This has the same requirement as Method 1: Find My had to be switched on beforehand. If it wasn't, the iPad won't appear in the device list at all, and you'll need Method 3 instead.
Method 3: Recovery Mode With a Mac or PC
This is Apple's default, most broadly supported path, and it works even if Find My was never enabled - the trade-off is you need a computer and a cable.
What you'll need: a Mac running Finder (Catalina or later) or iTunes (Mojave or earlier), or a Windows PC with the Apple Devices app or iTunes installed; a data cable (not a charge-only one); a stable internet connection on the computer, since it downloads the full iPadOS install file.
Step 1. Turn the iPad off completely. Unplug it from the computer first. No Home button: hold the top button and either volume button together until the power-off slider appears. Home button: hold just the top button. Slide to power off, then wait a full minute to make sure it's actually off — not just asleep.
Step 2. Identify your target button.
- No Home Button (Face ID or Touch ID-in-top-button models - most iPads from 2018 onward): your target is the Top button.
- Home Button (older iPads): your target is the physical circular Home button.
Step 3. Connect and trigger recovery mode.
- No Home Button: Plug the cable into the computer, then plug the other end into the iPad. Once connected, quickly press and release the volume button nearest the top button, then quickly press and release the volume button farthest from the top button. Immediately after, press and hold the Top button — don't let go when the Apple logo appears.
- Home Button: Plug the cable into the computer, then, as you plug the other end into the iPad, immediately press and hold the Home button. Don't let go when the Apple logo appears.
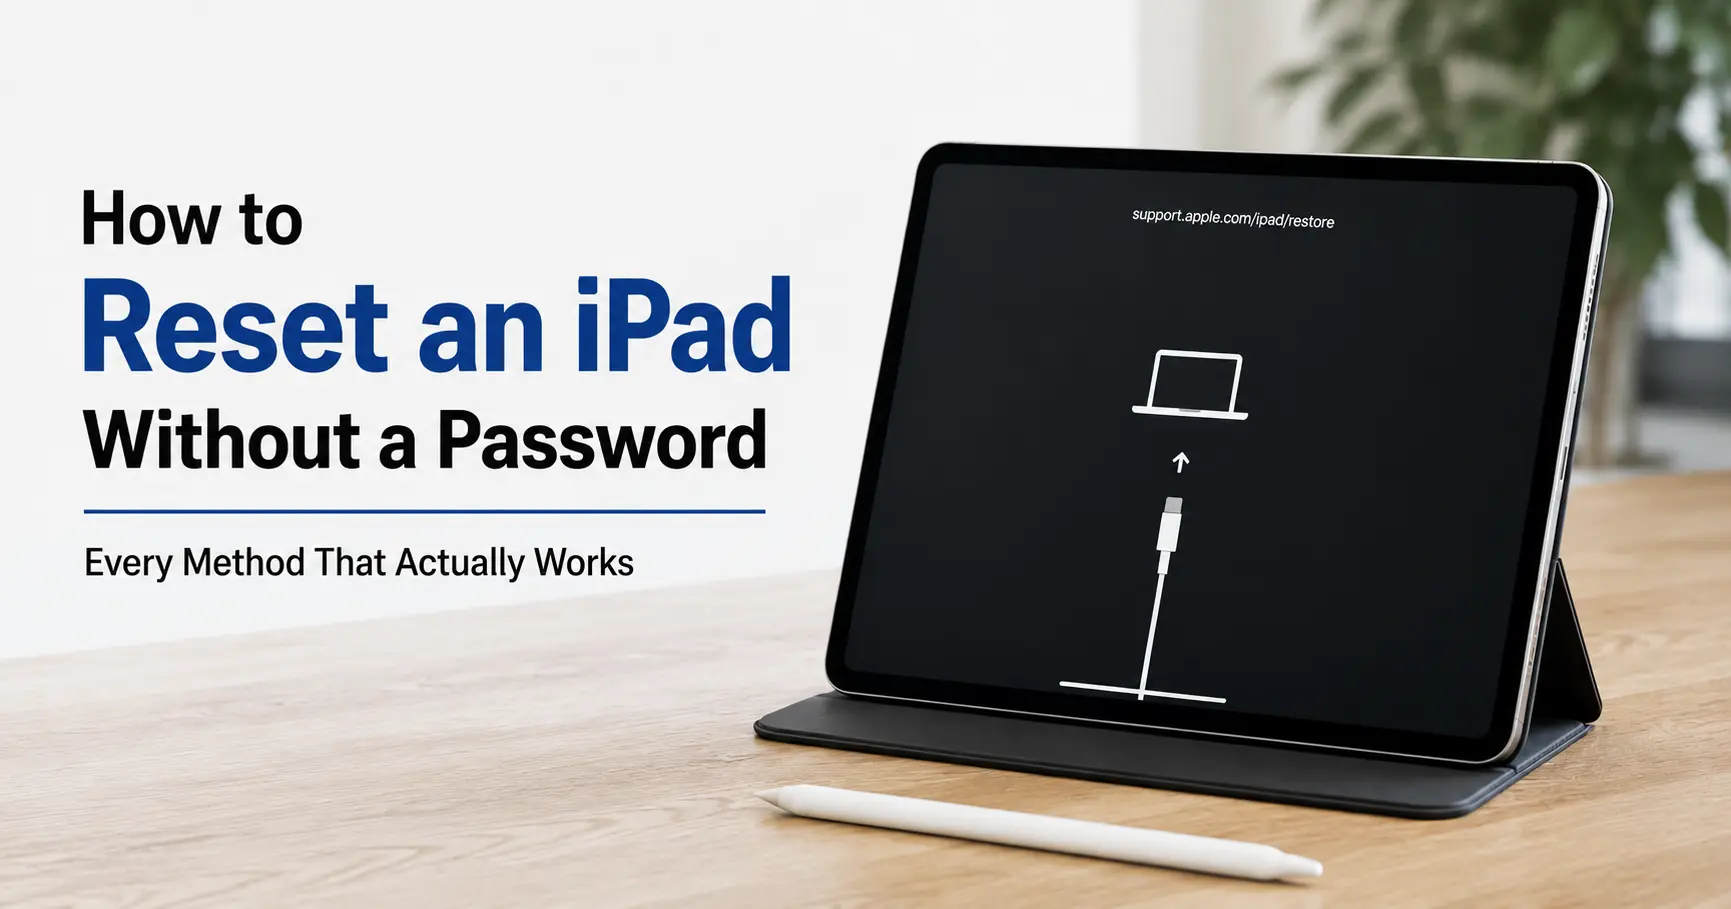
Step 4. Wait for the recovery screen. Keep holding until the black screen changes to show a laptop-and-cable icon - that's recovery mode. Let go, then open Finder (Mac) or iTunes (Windows) on the computer, which should now show a prompt for the connected iPad.
Once you're there:
- You'll be prompted to Restore or Update. Choose Restore - Update alone won't clear a forgotten passcode.
- The computer downloads iPadOS and reinstalls it. This typically takes somewhere in the 10–20 minute range depending on your connection and how large the current iPadOS version is.
One genuinely useful thing most guides skip: if that download runs past 15 minutes, the iPad will silently drop out of recovery mode on its own. If that happens, don't panic and don't unplug anything - let the download finish, then power the iPad off and repeat step 3 to re-enter recovery mode before the restore continues. Apple documents this quirk directly, and it catches out a lot of people who assume the process has failed.
Method 4: DFU Mode - the Deeper Reset
DFU (Device Firmware Update) mode sits a level below recovery mode. Where recovery mode still relies on iBoot, the part of the system that enforces what iPadOS will and won't install, DFU mode talks to the iPad at the firmware level and skips iBoot entirely. In plain terms: it's what you try when recovery mode won't even show the connect-to-computer screen - the iPad is stuck on a black screen, looping the Apple logo, or the computer isn't detecting it properly.
The button sequence is fiddly and genuinely device-specific (the exact timing differs across iPad generations), so rather than risk giving you a combination that doesn't match your exact model, use recovery mode first and only reach for DFU if that fails outright - most locked-passcode situations never need it.
Worth knowing either way: DFU mode does not bypass Activation Lock. A full DFU restore wipes the software clean but leaves Find My's lock in place if it was enabled, exactly the same as a recovery mode restore. iFixit's technical breakdown covers the mechanism in more depth if you want to understand what's actually happening under the hood.
What Happens After the Erase: Activation Lock, Properly Explained
This is the part that decides whether any of the above actually gets you a usable iPad.
Activation Lock switches on automatically the moment Find My is enabled - which happens by default during setup on virtually every iPad, whether the owner consciously chose it or not. It ties the device to that Apple ID at the hardware level. Apple is explicit that Activation Lock is "designed to prevent anyone else from using your iPhone or iPad if it's ever lost or stolen", and it does exactly that - it doesn't distinguish between a thief and a forgetful owner.
Here's the part that matters practically: how you erase the iPad determines whether Activation Lock comes off with it.
- Erasing through Method 1 or Method 2 (on-device erase or Find My remote erase) asks for the Apple ID password as part of the process, and removes Activation Lock along with Find My when it succeeds.
- Erasing through Method 3 or Method 4 (recovery mode or DFU restore via computer) wipes the software but leaves Activation Lock exactly where it was. The iPad will land on a screen asking for the Apple ID and password that were last signed in - not any Apple ID, that specific one - before it lets you finish setup.
So if you've forgotten your own passcode and you're not sure which Apple ID was signed in, work out the Apple ID situation first (Apple's account recovery process can usually get you back into an account you've lost access to) before you erase via computer, or you'll end up locked out a second time in a different way.
If It's Not Your iPad: Secondhand, Inherited, or School-Issued
Buying secondhand
A genuinely useful thing a lot of older guides get wrong: Apple used to run a public page at icloud.com/activationlock where you could check a device's lock status by serial number or IMEI before buying it. That was retired years ago, and no official replacement exists despite plenty of sites still linking to it. The only reliable check now is watching the iPad boot to the "Hello" setup screen in person, or on a live video call with the seller, which proves it isn't asking for someone else's Apple ID. If a seller can't or won't do that, walk away - none of the methods above will unlock a device tied to someone else's account, and Apple will not remove Activation Lock for a buyer, even with a receipt.
Inherited devices
If the iPad belonged to someone who's passed away, Apple has a documented process for next-of-kin device access that typically requires a death certificate and proof of relationship submitted through Apple Support directly - it's a legal process rather than a technical one, and it's the only route that doesn't depend on knowing the original Apple ID password.
School or work-issued iPads
If the lock screen mentions a profile, "remote management," or the device won't let you erase itself with an error about a configuration profile, it's under MDM (Mobile Device Management) - enrolled and controlled by an organisation's IT system. None of the four methods above will remove that on their own; you need to contact the school or employer's IT administrator, since MDM is designed specifically to survive a factory reset.
A final word of caution: paid "iPad unlock" tools that promise to remove Activation Lock without the original credentials are, at best, unable to deliver on that promise (Activation Lock is checked against Apple's servers, not something stored locally that software can edit), and at worst a way to launder stolen devices. If a tool claims it can bypass Activation Lock outright, that claim alone is a reason not to use it.
Why the Lockout Timer Keeps Getting Longer
If you've been guessing passcodes, you'll have noticed the wait time balloon from a minute to five, to fifteen, to an hour and beyond. That's deliberate: Apple's passcode delay system increases the wait after each wrong attempt specifically to make brute-forcing a passcode impractical. Security researchers who've tested this directly have documented the newest tier extending lockouts as far as three and eight hours after repeated failures, a noticeably longer ceiling than the older iOS versions used. (ElcomSoft's technical analysis has the fullest public breakdown of how this has changed over successive iOS releases.)
Practically, this means guessing your way back in isn't a real strategy past the first handful of attempts - every wrong guess makes the next wait longer, not shorter, and continuing to guess only delays the point where you'd reach one of the erase options above.