
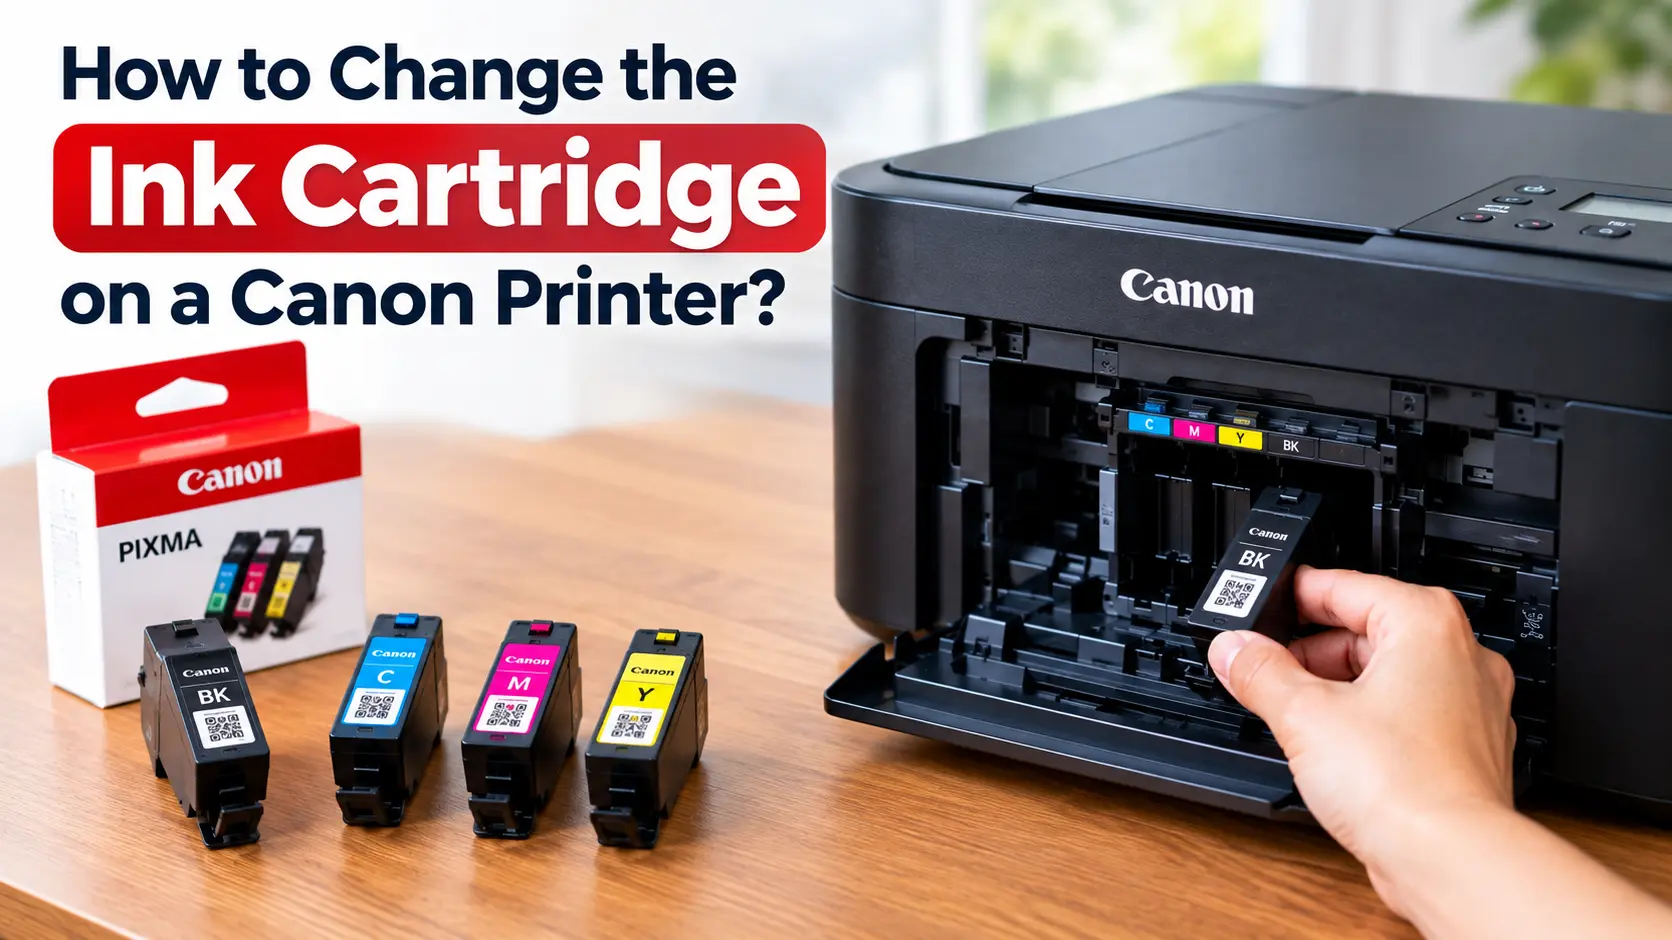
Open the cover, wait for the cartridge holder to slide to the center, squeeze the tab and lift out the old cartridge, then press the new one in until it clicks. On most PIXMA models that's the entire job, start to finish, in under two minutes. The part that trips people up isn't the mechanics, it's the two mistakes that come immediately before and after: touching the wrong surface on the new cartridge, and expecting the printer to just go back to work without running its own alignment routine.
Here's the full process, plus the specific things Canon's own documentation flags as failure points.
What you're actually replacing
On the majority of home PIXMA printers (the MG, TS, and TR series), the ink cartridge isn't just a bag of ink. Canon builds the print head directly into the cartridge itself, in what it calls a FINE cartridge, a name that stands for Full-photolithography Inkjet Nozzle Engineering, Canon's method for etching the ink nozzles at a microscopic scale onto the cartridge. Practically, that means every time you swap the cartridge, you're also swapping the print head nozzles that spray the ink.
That's a double-edged design. It's why a clogged or streaky FINE cartridge printer often gets fixed by nothing more than a new cartridge, since you're not stuck troubleshooting a dying, non-replaceable print head like you sometimes are on other brands. But it's also why the two surfaces on that cartridge matter more than they look like they should.
Higher-end PIXMA photo printers (the TS8000/TS9000 series, for example) and most MAXIFY business printers work differently: they use individual ink tanks, such as the PGI-280/CLI-281 or PGI-1200 lines, that snap into a print head fixed permanently inside the printer. You're only ever replacing the color that ran dry, and the print head itself is serviced separately, not with every cartridge change. If your printer takes five or six small tanks instead of two cartridges, skip to the section on multi-tank systems below, since the steps differ in a few important ways.
Before you touch anything: the two spots you can't touch
Every Canon FINE cartridge has two exposed surfaces on the underside: a strip of copper electrical contacts and the print head nozzle plate. Canon's printer manuals are blunt about this one: "Do not touch the electrical contacts or print head nozzle on a FINE cartridge. The printer may not print properly if you touch them." Skin oil on the contacts breaks the electrical connection the printer uses to read the cartridge, and oil on the nozzle plate distorts how ink sprays out of nozzles that are engineered to release droplets a fraction of the width of a human hair. Hold the cartridge by its sides or the ridged plastic top, the way you'd hold a USB drive by the shell instead of the connector.
The second timing detail matters just as much: don't peel the orange protective tape off the new cartridge until you're seconds from installing it, and don't set it down afterward and go find a coffee. Canon's own replacement guide instructs installing the cartridge "immediately after removal to prevent [a] printer malfunction," since the tape is sealing ink against a nozzle plate that's open to air the moment it comes off, and pigment-based black ink in particular starts drying and clogging within minutes of exposure. If you've ever had a brand-new cartridge print streaky on its very first page, this is usually why: someone unwrapped it, got distracted, and let the nozzle sit open for ten minutes before seating it.
Step-by-step: replacing a FINE cartridge
- Leave the printer powered on. Cartridge replacement is done through the printer's own motor-driven carriage, not with the power off. Turning it off mid-swap can leave the carriage stuck off to one side.
- Retract the paper output tray and its extension so the front of the printer is clear.
- Open the front cover. The cartridge holder will automatically travel to the center replacement position. Don't grab it or force it while it's moving. Let it stop completely on its own.
- Press down on the empty cartridge until it clicks, then lift it straight out of its slot.
- Unwrap the new cartridge and remove the orange protective tape, holding it only by the plastic housing. Don't touch the copper contacts or the nozzle plate, and don't reattach the tape once it's off.
- Install it right away. Insert the cartridge at a slight slant into the holder, color cartridge in the left slot, black (pigment) cartridge in the right, then push it in and up firmly until you feel and hear it snap into place.
- Close the cover. On most models this triggers the alignment sequence automatically.
- Let the printer run its head alignment. It will feed one or more sheets of plain letter or A4 paper, print a grid or pattern, scan it back in, and self-correct. This is expected behavior, not wasted paper. Don't cancel it or pull the sheet out mid-print.
One timing note worth flagging: if you open the cover and then get pulled away, Canon's printers cap how long they'll leave the carriage exposed. Leave the cover open more than 10 minutes and the holder retreats to the far left and throws an error, at which point closing and reopening the cover is what resets it, according to Canon's PIXMA manuals.
If the printer says it doesn't recognize the cartridge
This is the single most common post-swap complaint, and it's almost never a defective cartridge. Canon documents it under support codes 1686 and 1688 ("the ink cartridge cannot be recognized"), and the fix is mechanical before it's anything else:
- Reseat it. Pull the cartridge back out and press it in again, straight down, until it clicks. A cartridge inserted at an angle or not pushed fully home is the top cause.
- Check the contact strip. If the copper ribbon on the back of the cartridge is smudged with ink or has a fingerprint on it, wipe it gently with a dry, lint-free cloth. Ink or oil on that strip breaks the read.
- Try the other cartridge, if you swapped both. Isolating which one the error is actually flagging saves you from reseating the wrong one repeatedly.
- As a last resort, hold the printer's Stop/Reset button for about five seconds. This overrides the ink-monitoring check and lets you keep printing on the cartridge you already have installed. It's useful if you're mid-print and out of spares, but it's a bypass of a safety check, not a fix, and Canon's own guidance notes print quality may suffer if you push a cartridge past what it's actually detecting as empty.
If none of that clears it, the remaining cause is usually a non-Canon or refilled cartridge whose chip the printer's firmware doesn't recognize after an update, a known friction point with third-party ink on current PIXMA firmware.
A word on third-party and refilled cartridges
You'll pay noticeably less for compatible or remanufactured cartridges, and plenty of people run them without issue. But two real tradeoffs go with the discount: Canon's printer firmware has, at various points, been updated in ways that flag or block non-Canon chips, and Canon's own cartridge warranty language excludes printer damage caused by using non-Canon ink. If you print rarely and the printer is old enough that a warranty claim isn't on the table anyway, third-party ink is a reasonable way to cut cost. If you're under warranty or print enough that a bad batch of refilled ink could gum up the nozzles built into your next FINE cartridge, genuine Canon ink removes that variable.
Standard vs. XL: what you're actually paying for
Canon sells most consumer cartridges in two sizes, and the "XL" isn't just a bigger sticker price for the sake of it. It's a meaningfully different cost per page. Using the PG-245/CL-246 line as the reference point:
| Cartridge | Type | Approx. page yield | List price |
|---|---|---|---|
| PG-245 | Standard black (pigment) | ~180 pages | $20.99 |
| PG-245XL | High-yield black (pigment) | ~300 pages | $29.99 |
| CL-246 | Standard tri-color (dye) | Lower yield, sold alongside PG-245 | Comparable to PG-245 |
| CL-246XL | High-yield tri-color (dye) | Higher yield, sold alongside PG-245XL | Comparable to PG-245XL |
Run the math and the XL black cartridge costs about 43% more up front but yields about 67% more pages, meaning it's the cheaper option per page printed, not just the more convenient one. If you print more than a few dozen pages a month, the XL pays for the price gap within your first refill cycle. If you print rarely enough that ink dries out in the cartridge before you use it up, the standard size at least limits how much unused ink goes to waste.
Replacing individual ink tanks (CLI/PGI multi-tank systems)
If your printer is a higher-end PIXMA photo model or a MAXIFY, you're likely working with five or six small tanks (commonly a PGI pigment black plus CLI dye-based cyan, magenta, yellow, and sometimes gray or a second black) feeding one print head that's fixed permanently inside the printer rather than rebuilt with every swap. The process is similar but with two practical differences:
- You only replace the tank that's actually empty. Because each color is independent, a printer running low on magenta doesn't need you to touch the other four tanks.
- There's no equivalent print-head refresh happening on every swap. Since the head isn't part of the tank, a clogged nozzle on this system needs an actual cleaning cycle run through the printer's maintenance menu. Swapping ink alone won't fix a clog the way it does on a FINE-cartridge printer.
Cost-per-page tends to run lower on these systems since you're not throwing away a print head's worth of engineering with every near-empty cartridge, which is part of why Canon positions the multi-tank PIXMA and MAXIFY lines toward people who print in higher volume.
What if you have a MegaTank (G-series) printer instead?
If your printer has a bank of clear ink tanks visible on the front or side that you fill from a bottle rather than a cartridge you unwrap, you don't have a cartridge to replace at all. You're refilling, not swapping. Canon's GI-series bottles (like the GI-20) feed those tanks directly, and the running cost is where MegaTank earns its keep: a single black bottle is rated for thousands of pages rather than the low hundreds a standard cartridge delivers, which is the entire tradeoff of the higher upfront printer cost. If you were searching for cartridge-replacement steps but own a G-series machine, the process you actually want is "refill ink tank," not this one.
Related Guides
How to Connect a Canon MG3600 to Wi-Fi
How to Clean Epson Printer Heads (Without Ruining Them)
How to Replace Toner in a Brother Printer: Step-by-Step
Epson EcoTank ET-2850 and ET-2870 Wi-Fi Setup, and How to Fix One That Won't Connect