
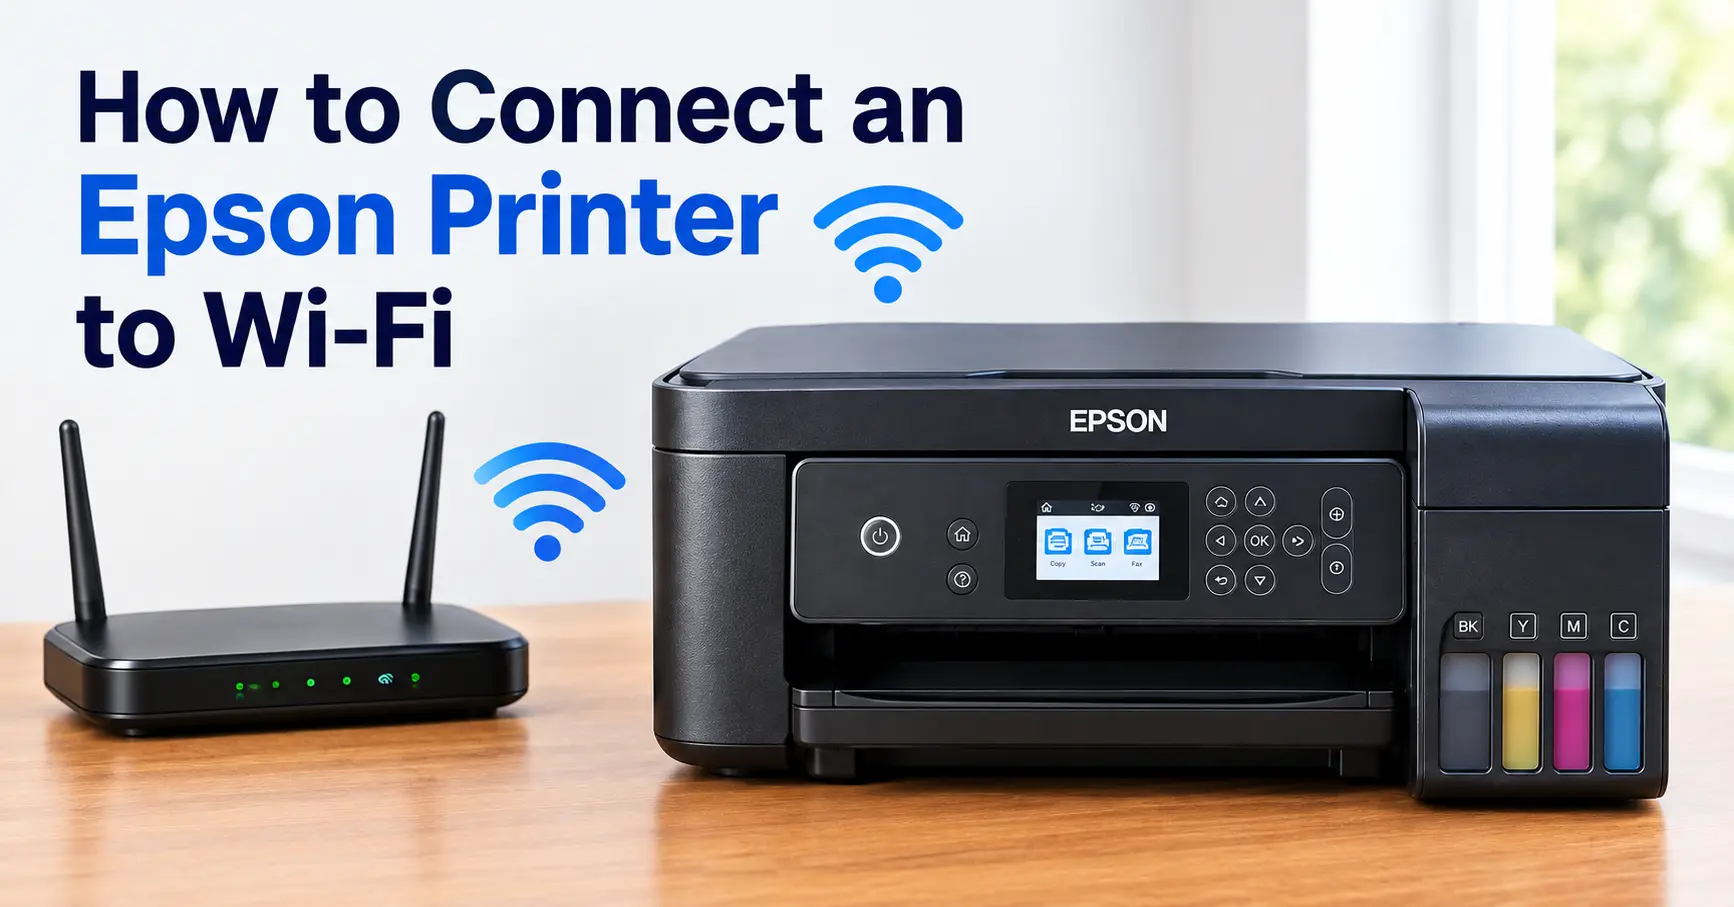
To connect an Epson printer to Wi-Fi, you give it your network name and password, and how you do that depends on the front of the printer. If it has a screen, run the Wi-Fi Setup Wizard from the Wi-Fi icon or from Settings > Network Settings. If it has no screen, use the Epson Smart Panel app on your phone, or press the WPS button on your broadband hub and then hold the printer's Wi-Fi button for about five seconds.
Whichever route you take, most Epson home printers can only join a 2.4 GHz network. Most hubs the big UK providers now supply merge 2.4 GHz and 5 GHz under one name, and that one detail sits behind more failed setups than any mistyped password.
On a model with a screen, the whole job takes about five minutes, most of it spent entering the password with arrow buttons. Everything below deals with the parts that go wrong: printers with no screen, proving the connection actually worked, reading Epson's error codes, and why a printer that connected on Monday has vanished by Friday.
Which route fits your printer
| What's on the front | Examples | Best route | If that fails |
|---|---|---|---|
| A colour screen, touch or buttons | EcoTank ET-2850, ET-3850, ET-5880, ET-8550 | Wi-Fi Setup Wizard on the printer | WPS, or Epson Smart Panel |
| No screen, just lights and a Wi-Fi button | EcoTank ET-2810 series, Expression Home XP-2100 series | Epson Smart Panel app | WPS, or Epson's installer on a computer |
| Any model, but no router in range | Any of the above | Wi-Fi Direct | A USB cable |
Three things to sort out before you press anything
The Wi-Fi password, not the hub's admin password. Your Wi-Fi name and password are printed on the back or underside of the hub, or on the pull-out card some hubs come with. The same sticker often carries an admin password for the hub's settings pages. The printer will never ask for that one, and entering it instead of the Wi-Fi key is one of the most common reasons a perfectly good printer "won't connect".
A network the printer can actually hear. Most Epson home printers list their wireless standard as IEEE 802.11 b/g/n, which in plain terms means the radio only works on the older, longer-range 2.4 GHz band. A few higher-end models add 802.11a and ac, which is what brings 5 GHz support.
| Model | Wi-Fi standard (Epson spec) | 5 GHz | WPA3-SAE listed | Ethernet port |
|---|---|---|---|---|
| EcoTank ET-2800 | 802.11 b/g/n | No | Yes | No |
| EcoTank ET-2400 (screenless) | 802.11 b/g/n | No | Yes | No |
| EcoTank ET-3850 | 802.11 b/g/n | No | Yes | Yes |
| EcoTank ET-5880 | 802.11 a/b/g/n/ac | Yes | Not stated on Epson's spec page | Yes |
| EcoTank ET-8550 | 802.11 a/b/g/n/ac | Yes | Not stated on Epson's spec page | Yes |
If your model isn't listed, search for its user's guide and look for "Network Interface Specifications". If it says b/g/n and nothing else, treat it as 2.4 GHz only. If your hub broadcasts one network name for both bands and setup fails, Epson's own advice is to give each band its own name.
Do it this way round: keep your existing network name on the 2.4 GHz band and give the 5 GHz band the new name. Epson's manual suggests names like "Home Network 2.4 GHz" and "Home Network 5 GHz", but if you rename the 2.4 GHz band and later merge the bands again, the printer loses the name it was set up with and drops off. Keep the original name on 2.4 GHz and you can recombine the bands whenever you like without touching the printer.
A plain network name. Epson's troubleshooting notes say the network name should use only standard ASCII letters, numbers and symbols, or the printer cannot display it properly. That rules out emoji, accented letters (a Welsh name with a circumflex, such as Siân, counts) and the curly apostrophe an iPhone types by default. A network called "Tom’s Wi-Fi" that was renamed from a phone may carry exactly that apostrophe. If your printer shows your network as garbled, or not at all while every other device sees it, this is the likely reason.
One more: finish the ink fill and the initial charge first. Epson's Smart Panel instructions say to complete initial setup and ink installation before starting network setup, and a printer still busy charging its ink lines is a poor time to be handing it a password.
Printers with a screen: the Wi-Fi Setup Wizard
- Press the home button. Select the Wi-Fi icon, usually in the top left of the home screen. On the smallest screens, such as the ET-2850's, choose Wi-Fi Setup from the home menu instead.
- Choose Wi-Fi (Recommended), then Start Setup or Change Settings.
- Choose Wi-Fi Setup Wizard.
- Pick your network from the list. For a hidden network, choose Other SSIDs (on some models, the + button then Enter Manually) and type the name.
- Enter the Wi-Fi password. It is case-sensitive, and the characters that catch people out are the look-alikes: capital O against zero, lower-case L against the number 1 and capital I.
- Confirm the settings and select Start Setup.
If it works, the Wi-Fi icon on the screen shows as connected. If it fails, the next screen offers Print Check Report. Take it. That report tells you exactly why, which is far quicker than retyping the password three times on a hunch.
The follow-up question: "The printer says it's connected, so why can't my laptop see it?" Joining Wi-Fi and being added to your computer are two separate jobs. The printer has done its half. The computer's half is further down, under getting your laptop, Mac and phone to use it.
Printers with no screen
Three routes, in the order worth trying them.
Epson Smart Panel on your phone
- Connect your phone to the Wi-Fi network you want the printer on. If you split the bands, that means the 2.4 GHz one.
- Install Epson Smart Panel from the App Store or Google Play. It is the current setup app; ignore the older Epson iPrint if you still have it.
- Turn Bluetooth on and stand next to the printer. Epson's manuals for recent models list a Bluetooth-enabled phone as a requirement for setup, and the phone has to stay close enough to hold that connection.
- Open the app. If it spots the printer, follow the prompts. If it doesn't, tap the + icon and choose to set up a new product.
- Allow every permission it asks for (Bluetooth, nearby devices, location on Android, local network on iPhone). Refuse one and the app tends to report the printer as not found, without saying why.
- Keep the app on screen until it finishes. Switching away to check a message mid-setup is a common reason it stalls.
Smart Panel also passes over whatever network your phone is on at that moment. If the phone has quietly hopped to 5 GHz or to mobile data, that is what the printer is sent.
The WPS button on your hub
- Find the WPS button on your hub before you start. Some hubs have a physical button labelled WPS; others have it as an option in the hub's settings page or app.
- Press the hub's WPS button.
- Within two minutes, hold the printer's Wi-Fi button for about five seconds, until the Wi-Fi light and the Wi-Fi Direct light flash alternately. Then let go.
- When the Wi-Fi light stays on steadily, the printer is connected.
Two minutes is plenty if you already know where the button is, and not much if you are hunting round the back of a hub in a cupboard. WPS is also the route most likely to be unavailable: some newer hubs ship with it switched off, and it does not work on a network set to WPA3-only security.
Epson's installer on a computer
Go to epson.sn (Epson Setup Navi), enter your model, and download the setup software for Windows or macOS. Choose the Wi-Fi connection option when asked, and the installer walks you through getting the printer onto the network. The advantage over the other two routes: it installs the printer driver at the same time, so your computer is ready to print the moment the printer joins.
The follow-up question: "Which lights mean it worked?" On Epson's screenless EcoTanks, a steady Wi-Fi light means the printer is on your network. A steady Wi-Fi Direct light means it is connected directly to a single device, not to your network. The two lights flashing alternately means setup is still in progress. If the Wi-Fi light is not steady a few minutes after setup, print the report described next rather than starting again.
Prove it worked: the status sheet and the seven-second rule
The Wi-Fi icon or light only tells you the printer joined something. The network status sheet tells you what.
- Screen models: Settings > Network Settings > Print Status Sheet. For the diagnostic version with an error code, choose Connection Check from the same menu.
- Screenless models: hold the network status button for at least seven seconds and the status sheet prints. Let go sooner and you get the network connection report instead. Both are useful, but expecting one and getting the other confuses a lot of people.
Three lines on the sheet matter:
- Network name (SSID). Check it is the one you meant. A printer on the guest network, a neighbour's network or a network from your old hub cannot be reached from your laptop, however strong the signal.
- IP address. You want a normal home address, such as 192.168.1.x on a BT hub or 192.168.0.x on Virgin Media and Sky hubs. An address starting 169.254, or all zeros, means the printer joined the Wi-Fi but the hub never gave it an address.
- Signal strength. Epson's own advice is that if printing is slow or patchy and the sheet shows a poor signal, move the printer closer to the hub, away from microwaves, cordless phones and large metal objects.
When it won't connect: what the error code means
The connection report prints a code near the top. This is Epson's list, translated into what it usually means in a UK home.
| Code | What Epson's report says | What it usually means at home | What fixes it |
|---|---|---|---|
| E-1 | Check the network cable and hub | Only relevant to a wired connection. Wi-Fi and Ethernet cannot run at the same time on these printers, so a cable left plugged in stops Wi-Fi | Unplug the network cable and run Wi-Fi setup again |
| E-2, E-3, E-7 | No network name found, or the password doesn't match | A combined 2.4/5 GHz network, a printer too far from the hub, a network name with non-standard characters, or a typing slip | Give 2.4 GHz its own name, move the printer closer for setup, retype the password |
| E-5 | Security mode doesn't match | The hub uses a security type your model doesn't list. Recent models such as the ET-2800 and ET-3850 list WPA3-SAE; older ones may stop at WPA2 | Set the hub to WPA2, or WPA2/WPA3 mixed, then reset the printer's network settings and try again |
| E-6 | The printer's MAC address may be filtered | The hub only admits approved devices, or has hit a limit on connected devices | Add the printer's MAC address (printed on the report) to the hub's allowed list, or raise the limit |
| E-8, E-10, E-11 | IP address or gateway settings are wrong | DHCP is off on the hub, or the printer is still set to a manual address from an old network | Turn DHCP on at the hub and set the printer to obtain its IP address automatically |
| E-9 | Check the computer or device you're connecting from | The printer is fine; the problem is on the computer's side | Restart the hub, then reinstall the Epson software on that computer |
| E-12, E-13 | Several settings are wrong at once | Usually leftovers from a previous hub | Reset the printer's network settings and set it up from scratch |
For an ET-2850, ET-2870 or ET-2876 specifically, the ET-2850 and ET-2870 Wi-Fi guide goes model-deep on these codes. For router-side causes that affect every brand, such as client isolation and band steering, see why your printer won't connect to Wi-Fi.
The follow-up question: "The report says no problems, but nothing prints." Then the printer's side is done, and the fault is between the computer and the printer. Printer connected to Wi-Fi but not printing picks up from exactly that point.
Getting your laptop, Mac and phone to use it
- Windows 11: Settings > Bluetooth & devices > Printers & scanners > Add device. If the printer doesn't appear within a minute, choose to add it manually and type in the IP address from the status sheet. Running the installer from epson.sn does this for you and adds Epson's full driver.
- Mac: System Settings > Printers & Scanners > Add Printer, Scanner or Fax. Epson's EcoTanks support AirPrint, so macOS usually adds it without a separate driver. More detail in how to add a printer to a Mac.
- iPhone and iPad: AirPrint works as soon as the phone and printer are on the same network. Nothing to install.
- Android: the built-in Mopria print service, Epson Print Enabler or Smart Panel all work. See connecting your phone to a printer.
- Chromebook: Epson's manuals list native Chromebook printing, with no driver needed.
Scanning is set up separately from printing. If a document prints but the scanner reports a communication error, open Epson Scan 2 Utility, remove the scanner and add it again using the printer's IP address.
For the Windows side in more depth, including USB, see how to connect a printer to a laptop or computer.
Switched broadband provider? Reuse the old network name
This is the UK situation that generates the most "my printer stopped working" calls: a move from BT to Sky, or Virgin Media to EE, and a new hub arrives. Every device in the house drops off at once, the printer included.
The printer only remembers three things: the network name, the password and the security type. Most hubs let you change the Wi-Fi name and password in their settings. Set the new hub's network name and password to exactly match the old ones, including capital letters, and the printer rejoins on its own, along with the smart TV, the doorbell and everything else. It isn't a trick specific to Epson; it's simply how Wi-Fi works. The one catch is security type: if the new hub is set to WPA3-only and your printer's manual doesn't list WPA3-SAE, switch the hub to WPA2/WPA3 mixed mode.
If you would rather start clean, reset the printer's network settings and run setup again:
- Screen models: Settings > Restore Default Settings > Network Settings, then confirm.
- Screenless models: turn the printer off. Hold the network status button and press the power button until the Wi-Fi and Wi-Fi Direct lights flash alternately, then release both. When those lights go out, the network settings are back to factory defaults.
Then remove the old printer entry on your computer and add it again. Otherwise Windows keeps trying the printer's old address.
Why it drops off a week later
The printer connected, printed happily, and a week later shows as offline. Three causes cover most of it.
Its IP address changed. The hub hands out addresses automatically and can give the printer a new one after a restart or when the old one expires. The computer keeps looking at the old address. The permanent fix is a DHCP reservation (also called address reservation) in the hub's settings, which ties the printer's MAC address to one fixed IP address. It takes five minutes once. Why your printer is offline when it's connected covers this in full.
The printer switched itself off. Epson says that depending on where a printer was bought, it has either a Power Off Timer or two settings called Power Off If Inactive and Power Off If Disconnected. The second one turns the printer off once it has lost its connections for a set time, 30 minutes on many models. So a hub that restarts overnight, or a brief power cut, can leave you with a printer that is fully off in the morning. A sleeping printer wakes for a print job; a switched-off one doesn't. If you keep finding it off rather than merely offline, look under Power Off Settings (the menu it sits in varies by model) and turn off Power Off If Disconnected.
It was set up in one place and used in another. Setting up right next to the hub and then carrying the printer to a back bedroom or a loft conversion is common. Print a status sheet from where the printer actually lives. If the signal is poor there, move it, or add a mesh node or extender nearby.
No router at all: Wi-Fi Direct
The printer can create its own small network, which Epson calls Wi-Fi Direct (or Simple AP mode). Your phone or laptop joins it directly, with no hub involved. Epson's manuals for recent EcoTanks allow up to eight devices at once.
- Screen models: from the Wi-Fi Setup menu, choose Wi-Fi Direct and follow the prompts. The printer shows its network name and password on screen, and on iPhones it can show a QR code to scan instead.
- Screenless models: hold the Wi-Fi button and press the network status button until the two lights flash alternately, then release. Once the Wi-Fi Direct light stays on, hold the network status button for seven seconds to print a status sheet showing the network name (it begins "DIRECT-") and its password.
It earns its keep in a garden office beyond the reach of the house Wi-Fi, or for a visitor who needs one page printed without being given your Wi-Fi password. The catch is that while a phone is joined to the printer's network, it has no internet connection, so treat it as a workaround, not a permanent set-up.