
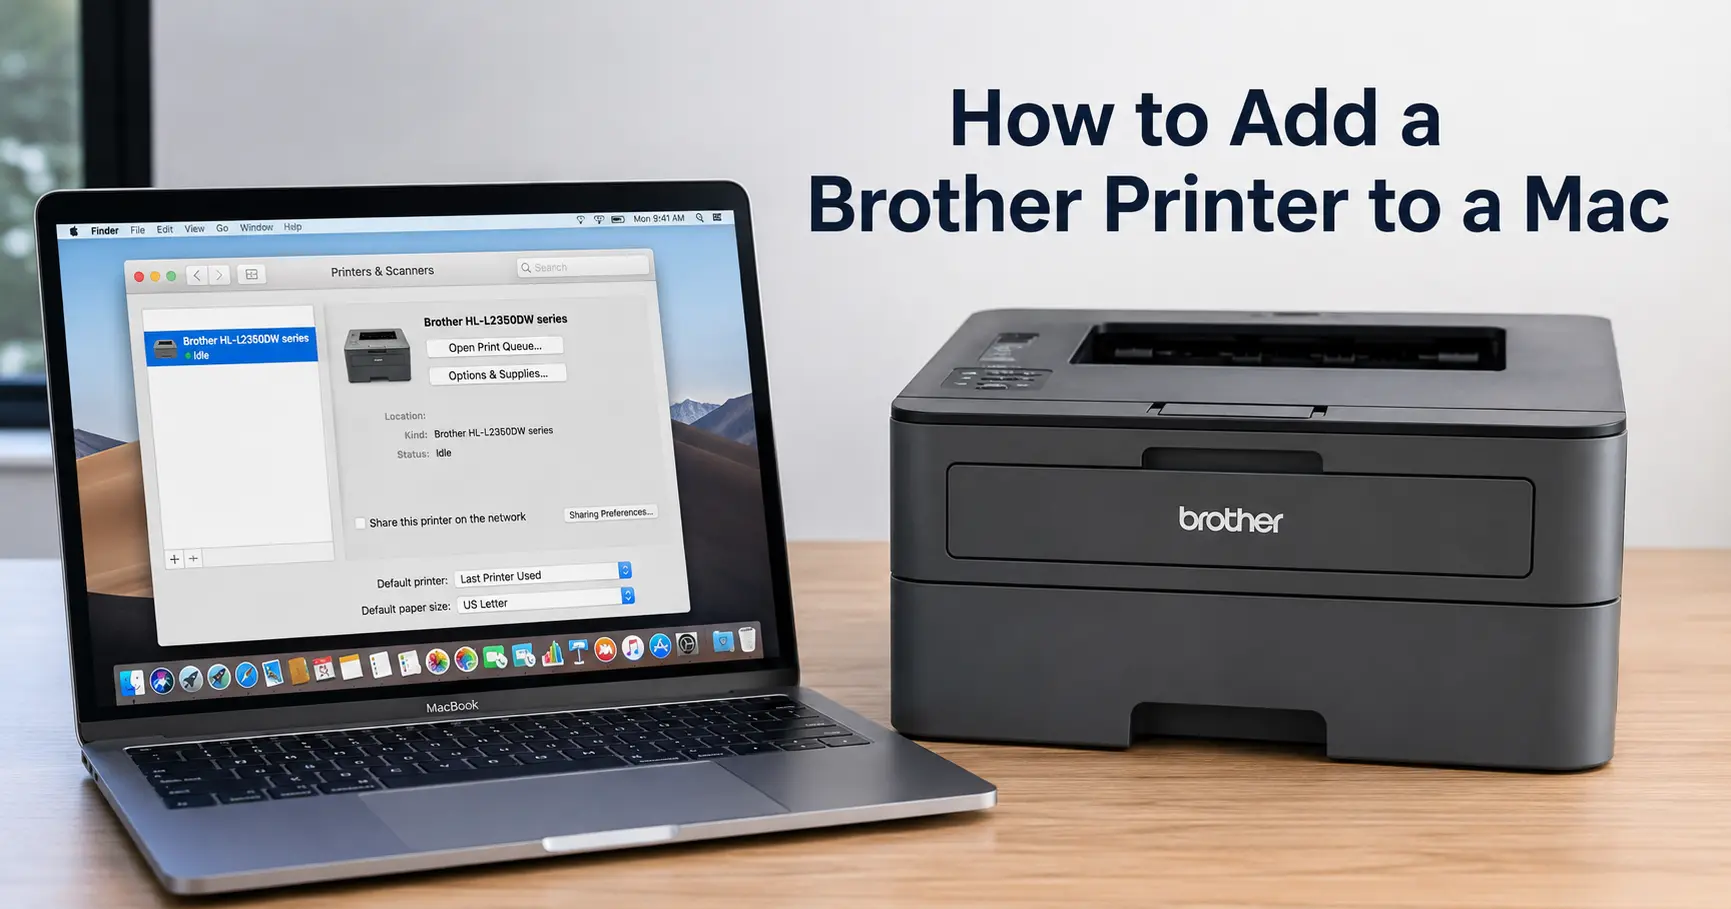
The fastest route is System Settings > Printers & Scanners > Add Printer, where macOS finds most Brother printers automatically over Wi-Fi via a discovery protocol called Bonjour and installs a basic AirPrint driver with no downloads needed. That gets you printing in under a minute, but it won't give you scanning from your Mac or ink level monitoring, for that you need Brother's own driver package from their support site instead.
Which route is right for you depends entirely on what you need the printer to do. If you only ever print, AirPrint is genuinely enough and I'd stop there rather than installing extra software you don't need. If you scan documents regularly, or want to see toner and paper status from your Mac, the full Brother driver is worth the extra five minutes.
Before you start: get the printer on your network
Adding the printer to macOS only works once the printer itself is already connected to your Wi-Fi network or plugged in via USB, macOS can't do that part for you. If you've just unboxed the printer, use its own control panel first:
- On touchscreen models (most current DCP, MFC, and HL series), go to Settings > All Settings > Network > WLAN > Setup Wizard, then pick your Wi-Fi network and enter the password using the on-screen keyboard.
- If your router supports it, press the WPS button on the router, then within two minutes select WPS from the printer's network menu instead of typing the password.
- Older models without a screen usually connect via a USB cable to a computer running Brother's setup software once, which pushes the Wi-Fi details to the printer, after which the USB cable can be removed.
Once connected, most Brother printers can print a Network Configuration Report from their settings menu, worth doing now, since it shows the IP address you'll need later if Bonjour discovery doesn't find the printer automatically.
Method 1: Add it the quick way, using AirPrint
This works because Apple builds AirPrint support directly into macOS, and Brother has included AirPrint compatibility in effectively its entire consumer and small-office range since around 2013, so unless you're using a genuinely old model, this route works without installing anything.
- Open System Settings, then go to Printers & Scanners.
- Click Add Printer, Scanner, or Fax.
- Wait a moment for the Default tab to populate, your Brother printer should appear listed by its model name.
- Click it, and check the Use dropdown, macOS usually selects AirPrint or Secure AirPrint automatically.
- Click Add.
That's it, the printer is ready to use from any app's Print dialog. The catch is that AirPrint is a print-only protocol, so if your Brother model has a scanner built in, it won't show up under Image Capture or in Preview's scan menu using this method alone.
Method 2: Install Brother's full driver for scanning and status monitoring
For scanning, ink or toner level checks, and access to Brother's own iPrint&Scan utility, you need the manufacturer's driver rather than Apple's generic one. Brother hosts these on the Brother Solutions Center rather than the Mac App Store, and the download is specific to your exact model number, not just the product line, so check the model printed on the front of the printer or on the network configuration report before downloading.
- Go to support.brother.com and search for your exact model, for example DCP-L2550DW or MFC-J995DW.
- Under Downloads, select macOS and your macOS version.
- Download the file labelled Full Driver & Software Package, not the driver-only option, since the full package is what installs the scanning components.
- Open the downloaded
.dmgand run the installer, which will search the network for your printer during setup. - Once installed, the printer appears in Printers & Scanners a second time alongside any AirPrint entry already there, and Brother iPrint&Scan or Brother Utilities appears in your Applications folder.
Worth knowing before you install: Brother's driver packages are compatible with both Apple Silicon (M1 through M4) and Intel Macs, but macOS Sequoia and recent Sonoma updates have occasionally shipped ahead of Brother's driver updates by a few weeks, so if the installer stalls or the printer doesn't appear after installing, check Brother's support page for a known compatibility note for your specific macOS version before assuming the printer itself is faulty.
Connecting via USB instead of Wi-Fi
If you'd rather skip wireless setup entirely, plug the printer into your Mac using the USB-B to USB-A (or USB-C, on newer Macs) cable that came in the box. macOS detects it immediately and, in most cases, installs a basic driver automatically without you opening System Settings at all. For scanning support over USB, you still need the full driver package from Brother's site, USB connection doesn't unlock any extra functionality on its own, it just replaces Wi-Fi as the transport.
What to do when the printer doesn't show up automatically
If nothing appears in the Add Printer window after thirty seconds or so, the most common cause is that the printer and Mac are on different networks, for example the printer joined a router's 2.4GHz band while your Mac is connected to a 5GHz-only guest network, or the printer is still sitting on an older Wi-Fi network from a previous house move. Bonjour discovery only works within the same local network, it won't find a printer sitting behind a different SSID even if both networks can reach the internet.
When discovery genuinely won't find it, add the printer manually using the IP address from that network configuration report you printed earlier:
- In Add Printer, click the IP tab instead of Default.
- Enter the printer's IP address in the Address field.
- Set Protocol to Line Printer Daemon (LPD), which Brother printers support by default for this kind of manual connection.
- Under Use, select your Brother model from the dropdown if it appears, or Select Software to browse for it manually if you've already installed the full driver package.
- Click Add.
Fixing the "Filter failed" error after adding the printer
This is the most common post-setup problem, and it shows up as a stalled print job with a "Filter failed" message in the print queue, usually because macOS is trying to use a generic or mismatched driver rather than the correct Brother one. Reinstalling the printer using the exact steps above with the full Brother driver package resolves it in the majority of cases, but if it persists, resetting the print system clears out corrupted driver associations that a simple reinstall sometimes leaves behind:
- Go to Printers & Scanners.
- Right click (or Control-click) anywhere in the empty space of the printer list.
- Select Reset printing system, and confirm.
- This removes every printer on the Mac, not just the Brother one, so re-add them afterwards using the methods above.
Why your printer might appear twice in the list
If you've used both methods, don't be surprised to see two entries for the same physical printer, one added by AirPrint and one added by the full driver installer, often with slightly different names such as "Brother MFC-J995DW" and "Brother MFC-J995DW (2)". This isn't a fault, macOS treats them as genuinely separate configurations. For scanning, always pick the one installed via the full driver package, since the AirPrint entry has no scanning capability regardless of which one you select as default for printing.
| Setup method | Printing | Scanning | Ink/toner status | Setup time |
|---|---|---|---|---|
| AirPrint (System Settings) | Yes | No | No | Under 1 minute |
| Full Brother driver (support.brother.com) | Yes | Yes | Yes | 5 to 10 minutes |
| USB, no driver installed | Yes | No | No | Under 1 minute |
| USB with full driver installed | Yes | Yes | Yes | 5 to 10 minutes |
If you only need to print the odd document, AirPrint's minute-long setup is genuinely all you need and I wouldn't bother with the extra install. The full driver only earns its place once scanning or status monitoring actually matters to how you use the printer day to day.
Related Guides
- if you're weighing up a Brother against a Canon, or already own both, this covers the WSD port issue and DHCP lease problems that cause the same "offline" symptom on Windows.
- a useful comparison if you're troubleshooting a mixed-brand household, since Epson's macOS driver quirks differ from Brother's in a few key ways.
- for the WPS and control panel wireless setup steps in more depth than covered above.
- a broader walkthrough if this is your first printer setup on any platform, not just macOS.
- worth a look if your Brother printer connects fine initially but drops offline later, since the underlying causes overlap with what pushes Windows printers offline too.